

HOW TO RECYCLE DIRTY ACRYLIC PAINT WATER
A Simple Studio Habit That Keeps Microplastics Out of Our Waterways
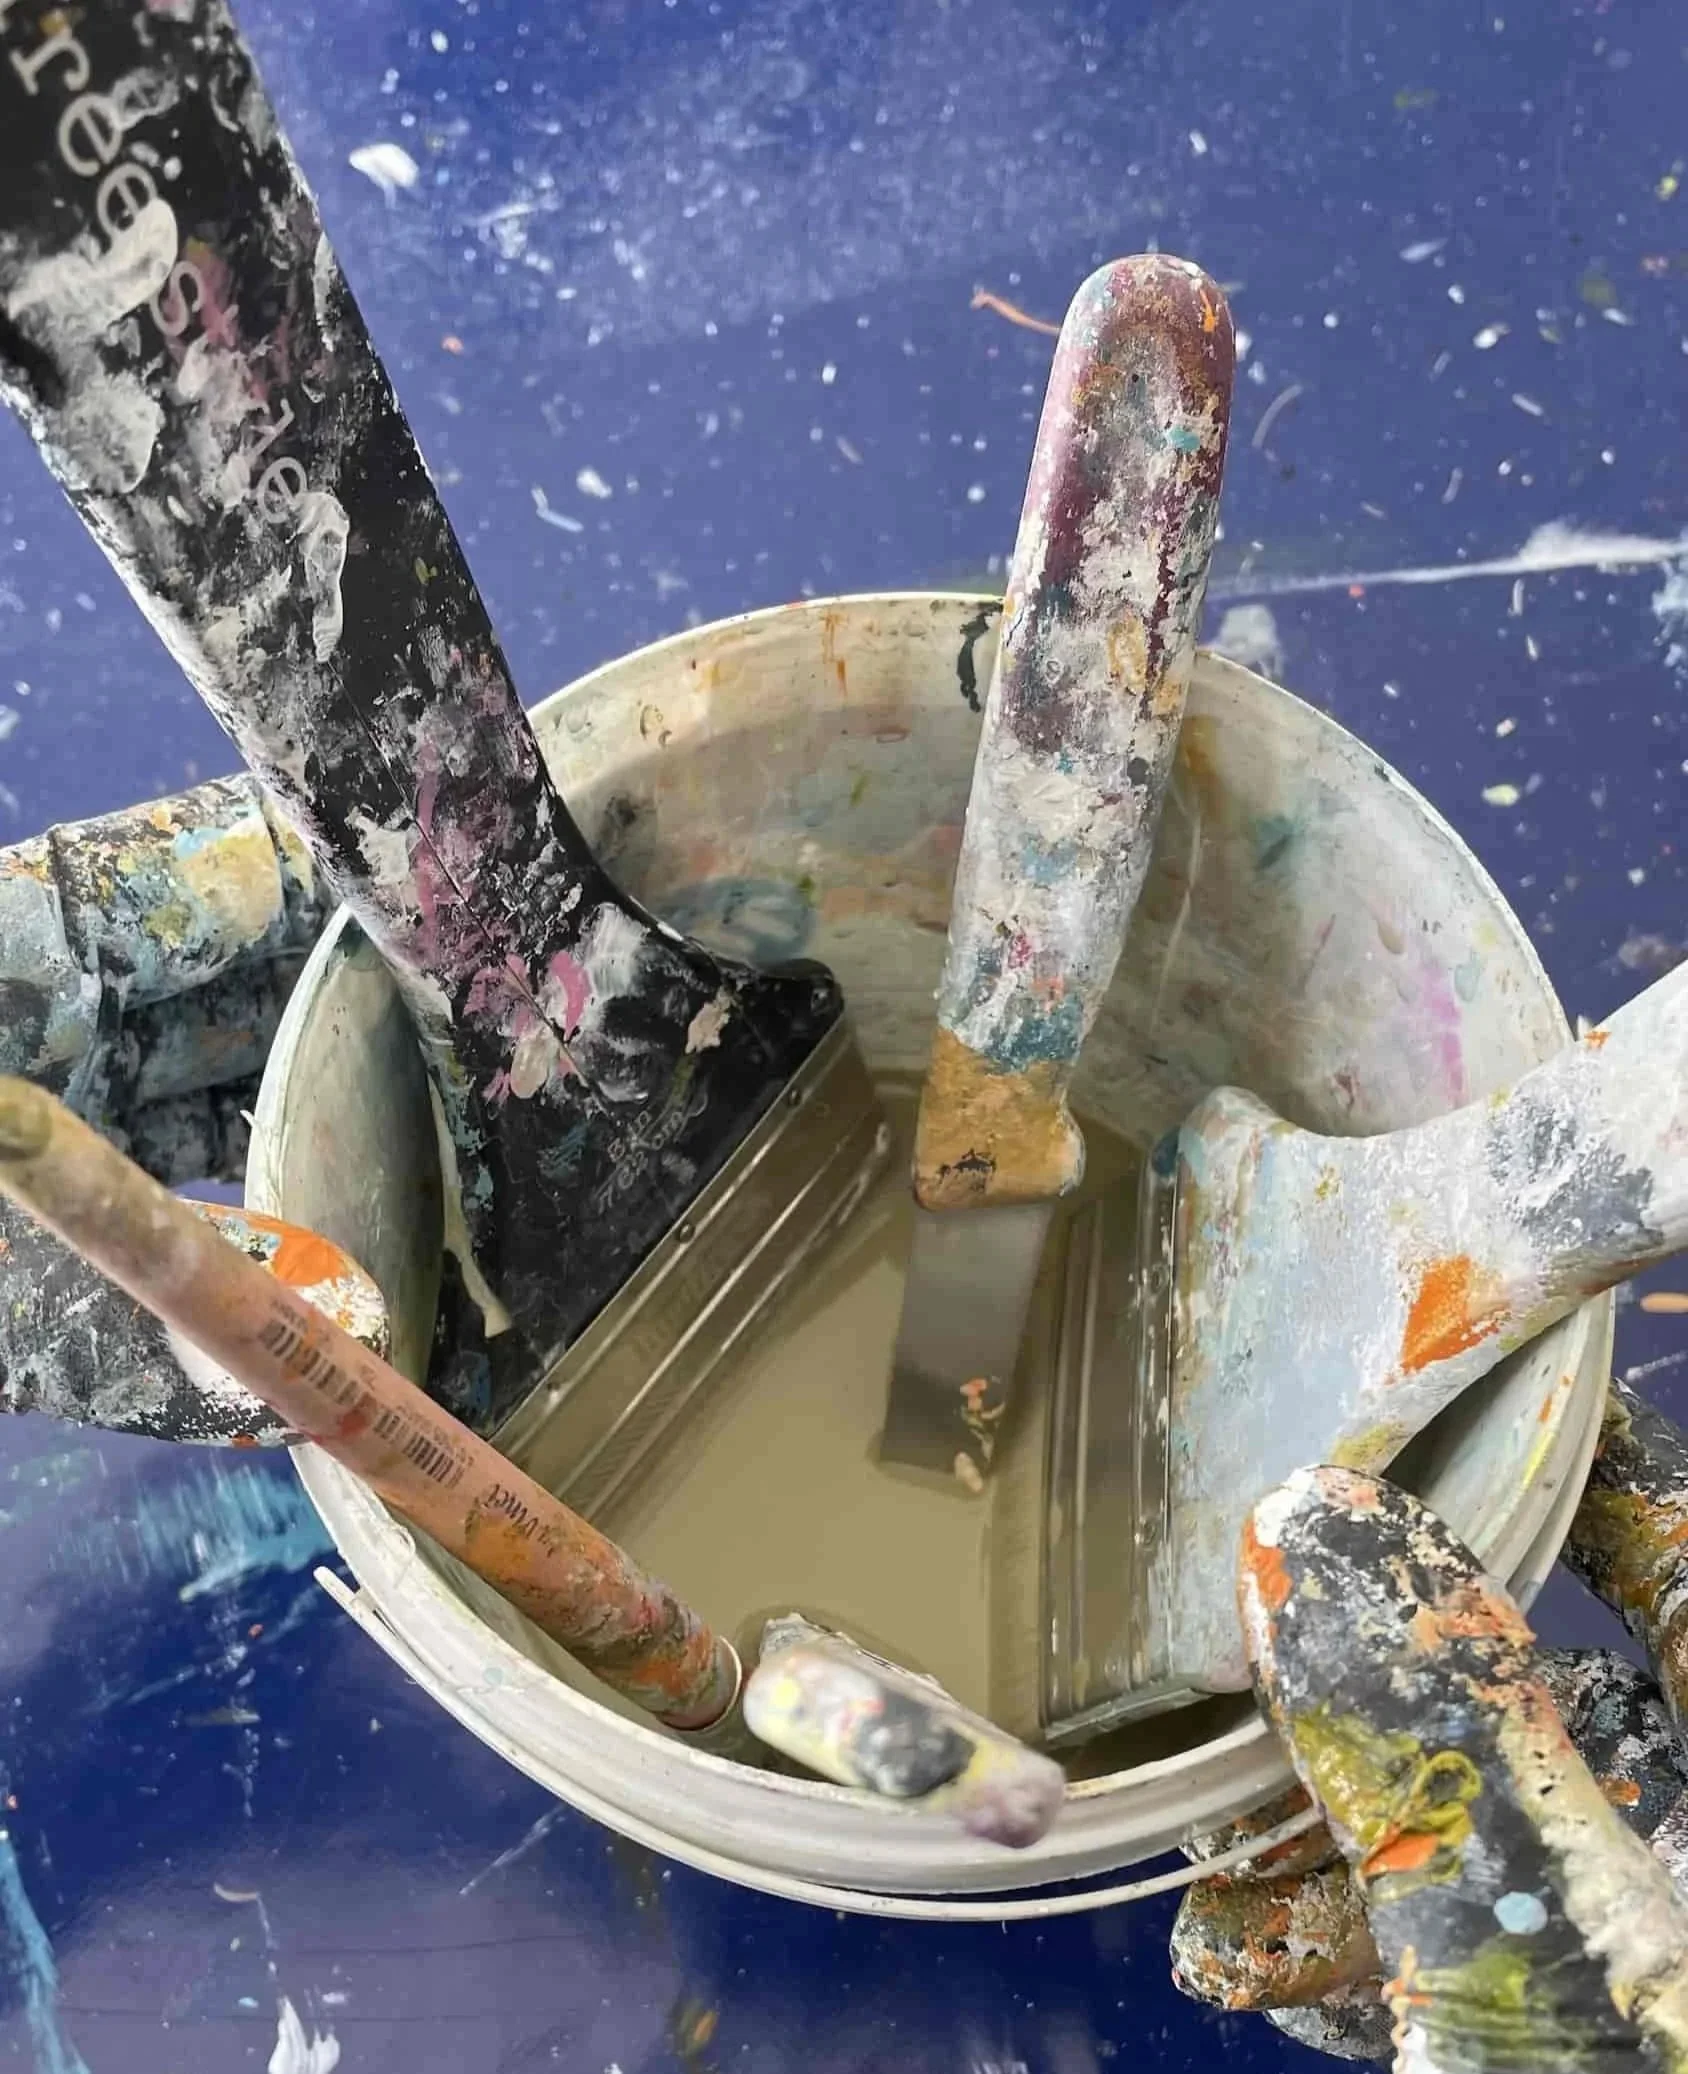
In my studio, there’s always a jar of dirty paint water on the go—where I place my brushes and pour out the wastewater at the end of the day. I didn’t think twice about it. That murky water just went down the drain.
But once I started looking into what’s actually in that water, I couldn’t unsee it. Acrylic paint is plastic-based, and those microscopic paint particles in the wastewater are microplastics. When they go into the sink, they don’t just vanish—they make their way into waterways, ecosystems, and eventually the ocean.

That realization shifted something in me. I care about how my work connects to the world around me—not just the finished artworks, but the materials, the process, and the mess along the way. That’s what led me to start recycling my acrylic wastewater.
What you’ll need:

This method uses two inexpensive chemicals that you can find at most garden centers or hardware stores. I ordered mine in smaller quantities through Amazon, and they’ve lasted ages.
When combined, these two ingredients will cause the paint particles to clump together and settle in the water. This chemical reaction then makes it much easier to filter the water so that you can reuse it - or dispose of it responsibly.
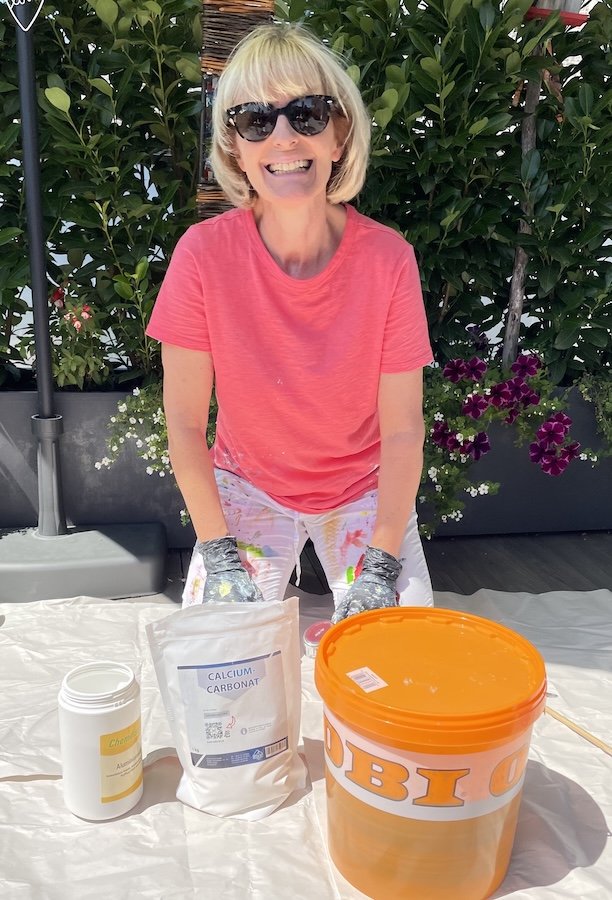
🧪 Materials I Use:
Aluminium sulfate
Hydrated lime (calcium hydroxide)
Large jars, buckets, or containers with lids
A stirring stick or spoon (I use a bamboo garden stake)
A large funnel
Heavy-duty coffee filters or a section of cheesecloth
A shallow tray or dish, newspaper or used palette paper for drying out the leftover sludge
The Process: How I Recycle My Paint Water
Here’s the step-by-step process:
1. Collect Your Paint Water

After each painting session, I pour all my dirty paint water into a dedicated container. I use a 10-litre paint bucket from the hardware store. I definitely recommend keeping a lid on it—it can start to smell a bit after a while.
Once my bucket is about two-thirds full (around 6–7 litres), that’s when I begin the recycling process.
2. Measure and Add the Chemicals
For every 1 litre of dirty paint water, I add approximately:

1-2 teaspoons (5-10g) of aluminium sulfate
1-2 teaspoons (5-10g) of hydrated lime
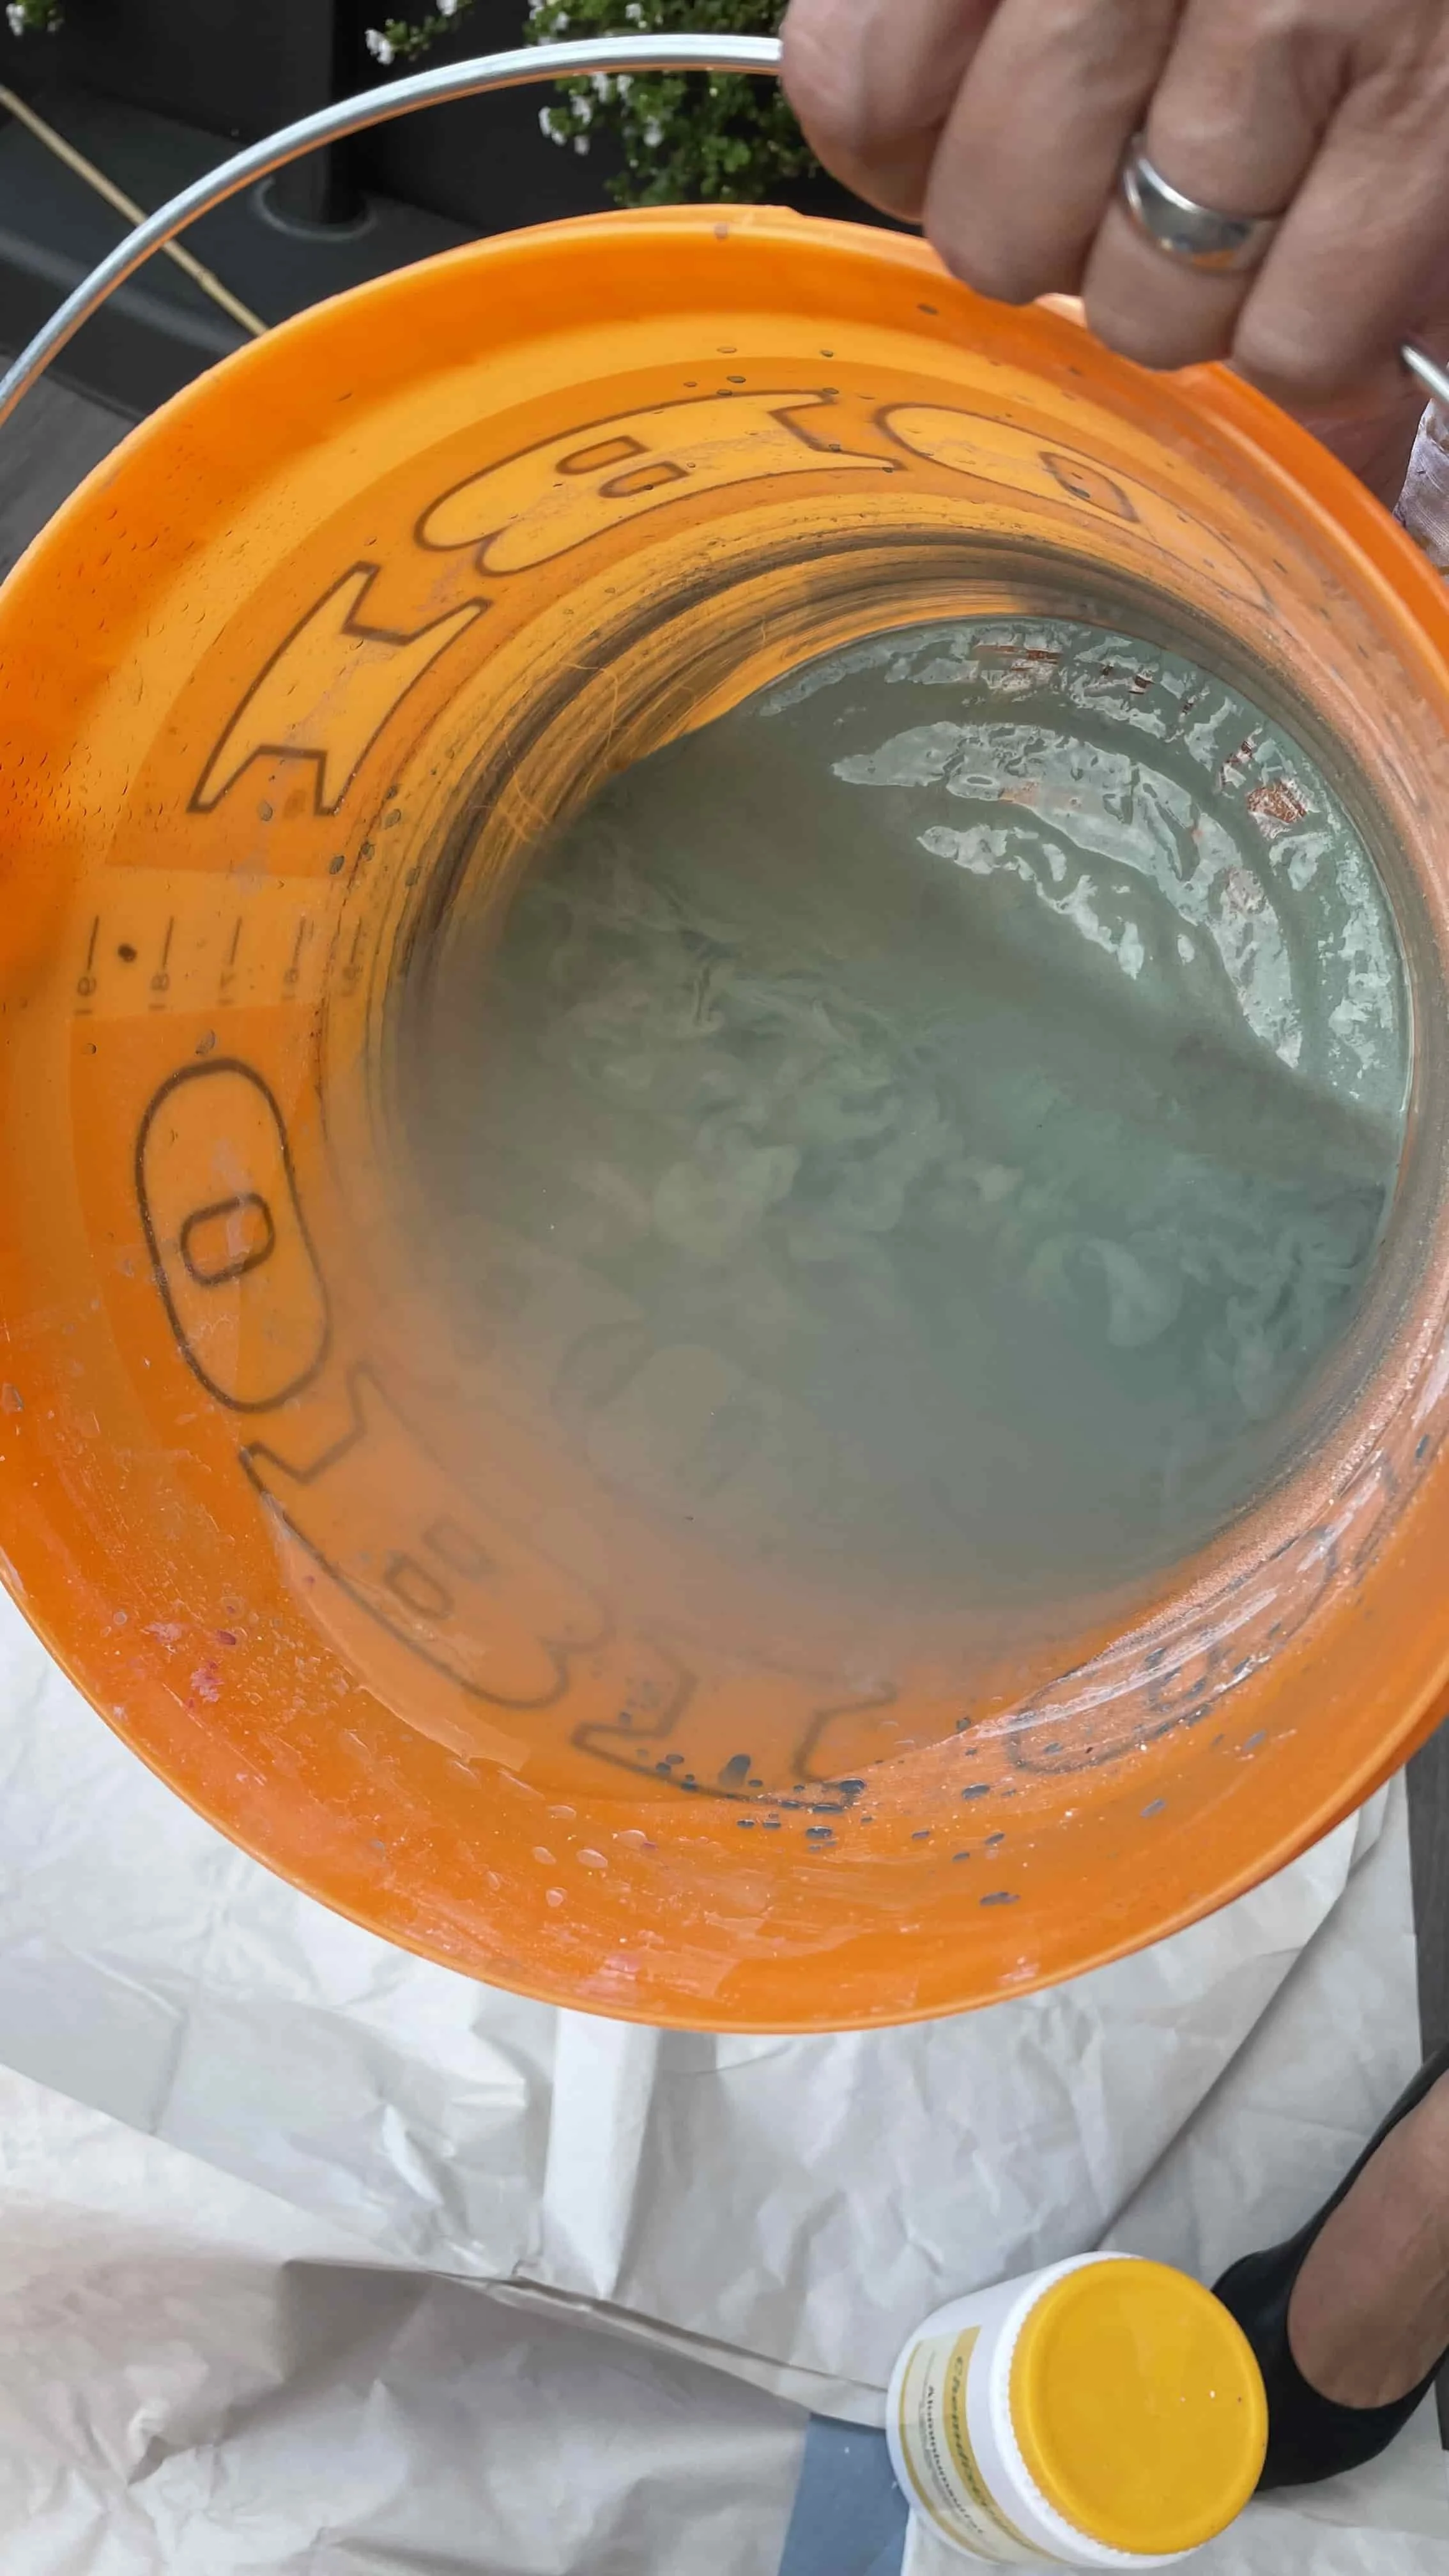
Stir gently for 30–60 seconds, making sure the powders are fully dissolved. You’ll see the water start to bubble, and foam will appear on the surface — that’s a good sign! The paint particles are starting to bind together, and they will start to settle soon.
💡 What’s happening here?
Aluminium sulfate acts as a coagulant—it latches onto paint particles and helps them clump. Hydrated lime helps neutralize the solution and boosts the clumping process.
3. Let It Settle
Now, walk away. Seriously—don’t touch it.
Leave the bucket undisturbed overnight.
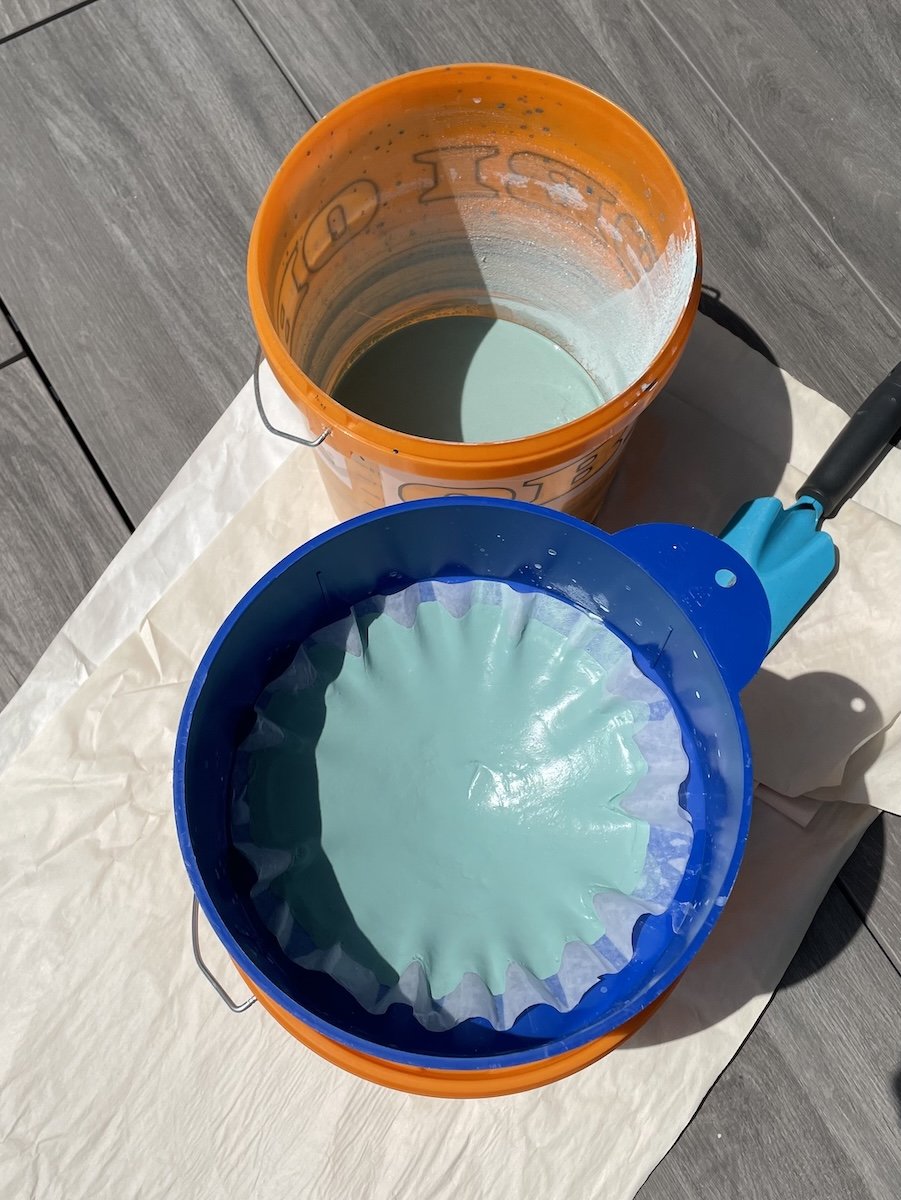
4. Filter

The next morning, you will see a layer of clear water appear on the top. A layer of sludge will have settle at the bottom. It’s oddly satisfying to check on the progress and watch this transformation.
It’s now time to filter it. I use a second bucket with a lid that has a hole cut out to hold a large funnel. I line the funnel with two large coffee filters, to catch the remaining sediment.
Slowly pour the top layer of water through the filters. Take your time—these filters drain slowly, so I do it in stages. Keep repeating until you’ve emptied the original bucket.
Now, you’ve got a second bucket full of clean, filtered water - clean enough to reuse for:
My paintbrushes for the next painting sessions;
Watering the garden; or,
Safely pouring down the drain.


5. Dry the Sludge
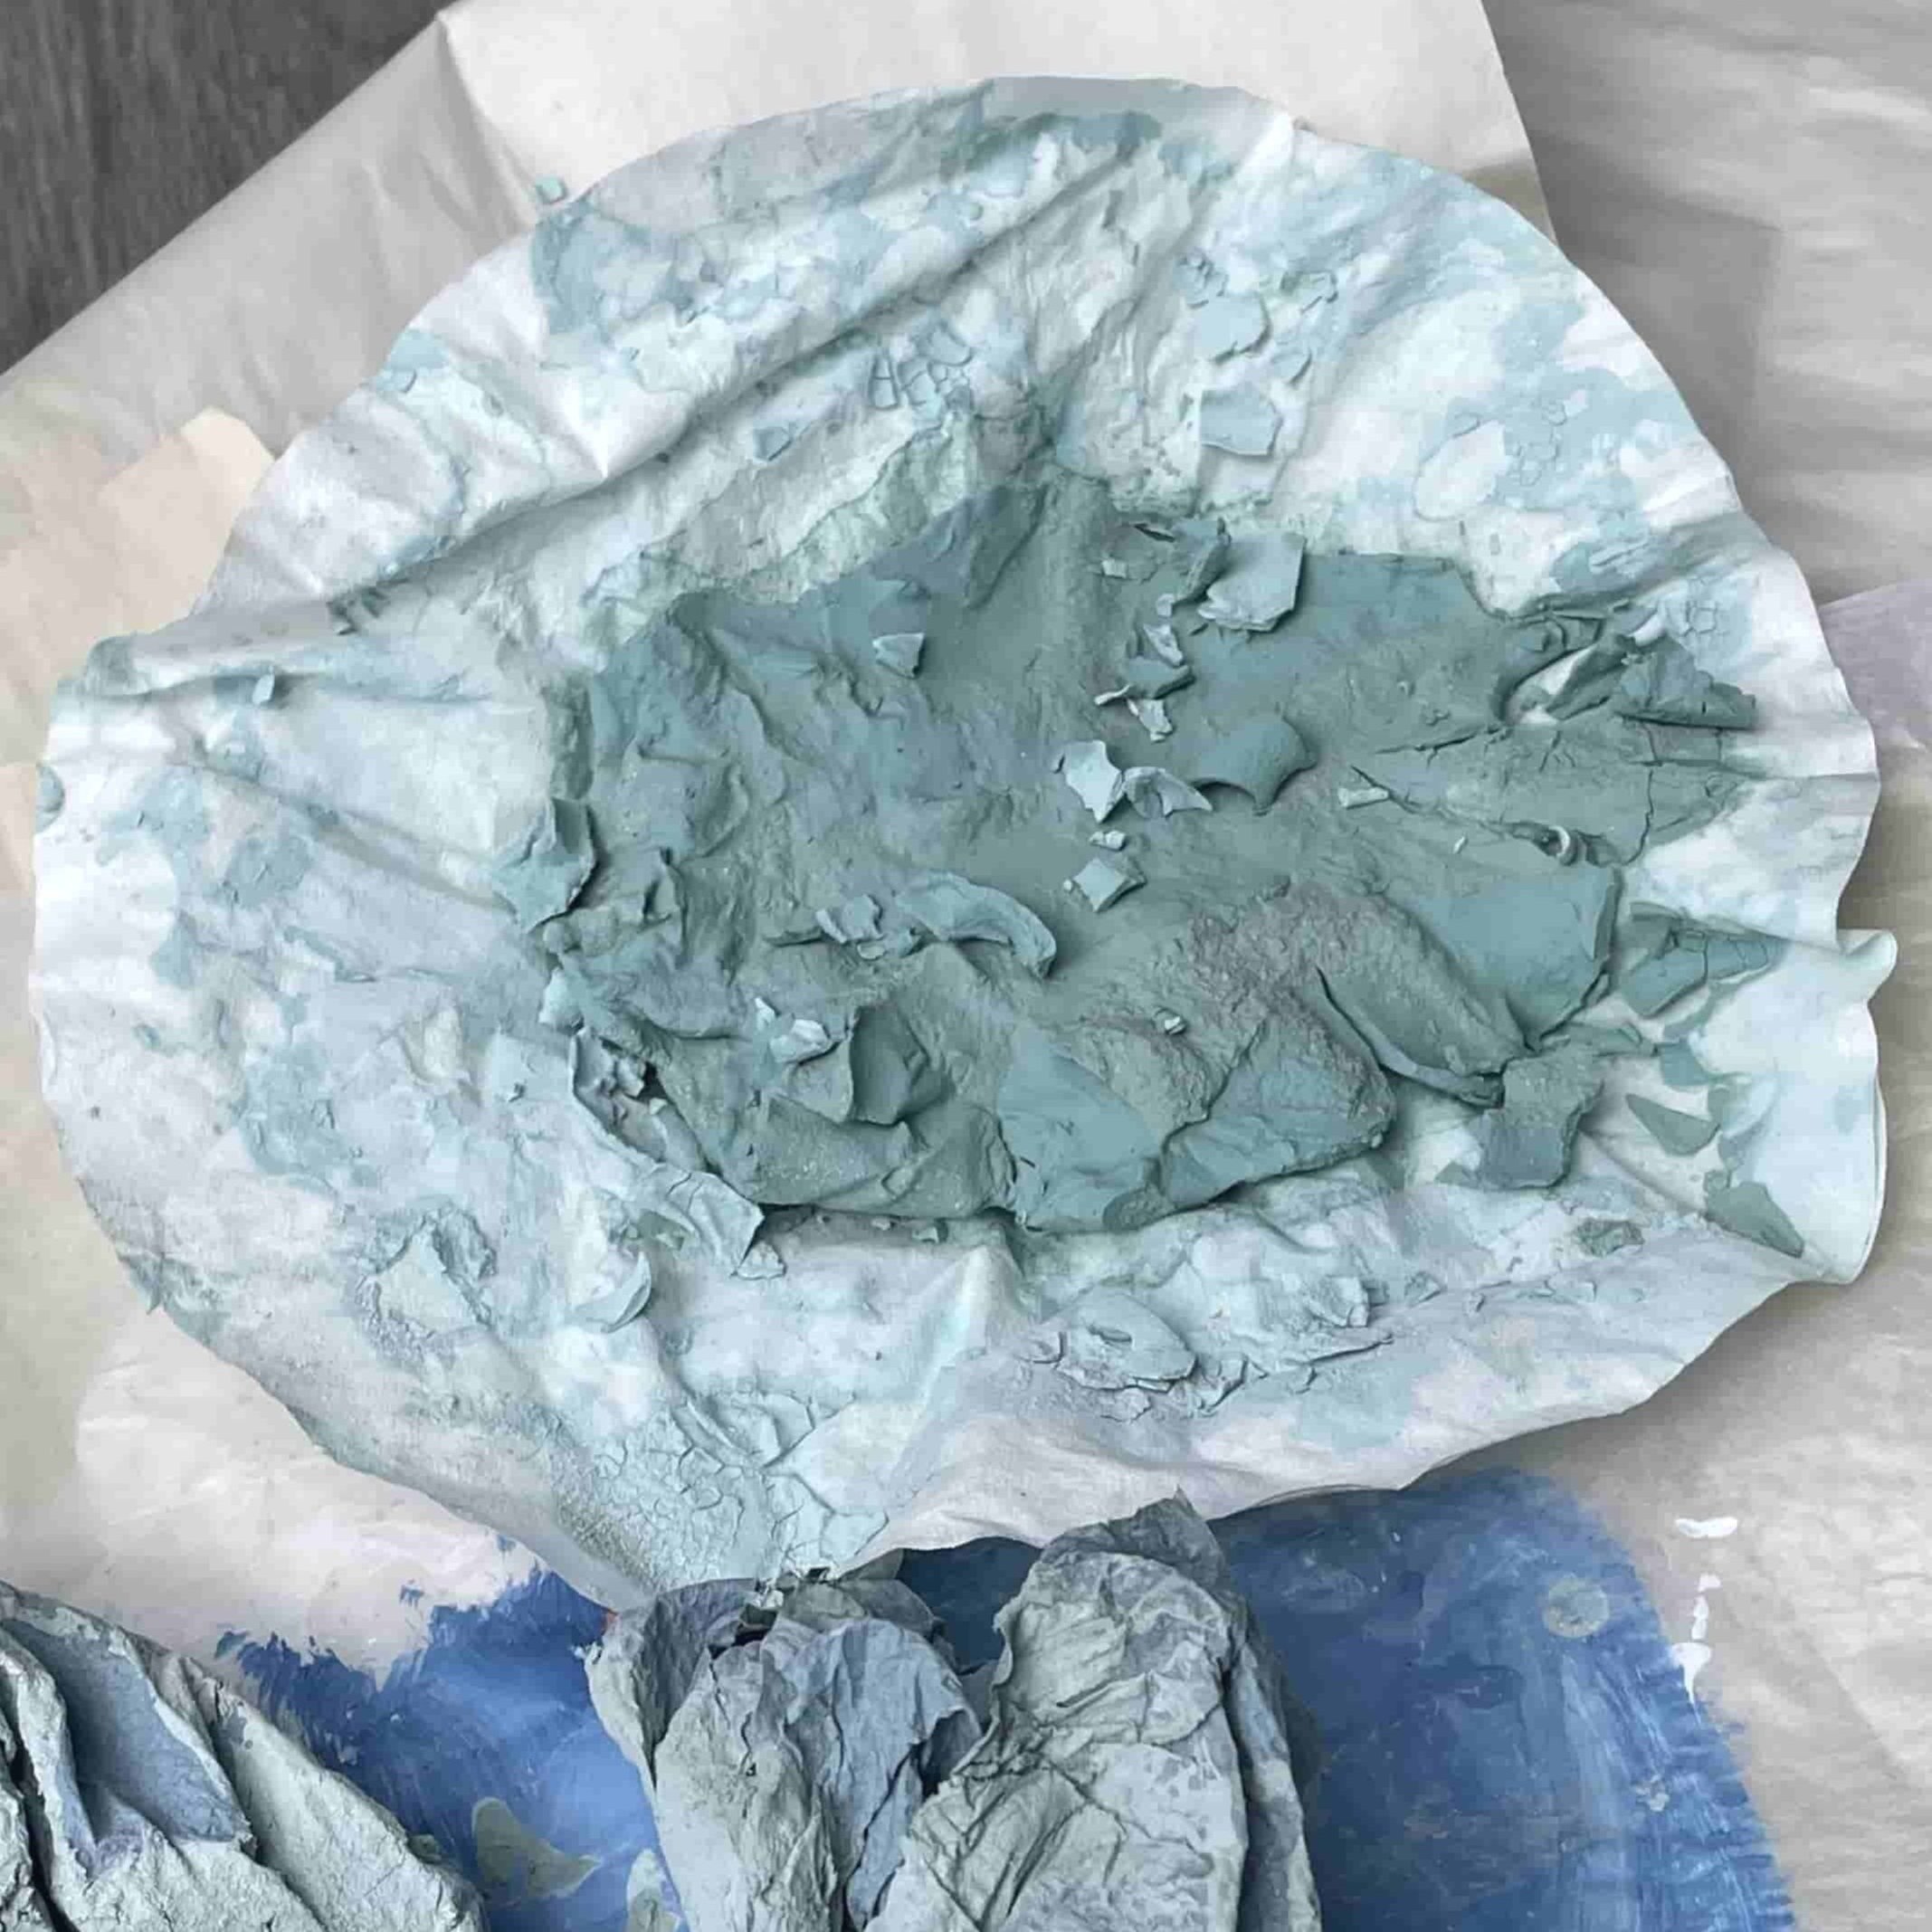
What’s left in your first bucket is a thick layer of sludge. Pour or scrape it out, onto a shallow tray or dish, or old newspapers. I use an old palette paper from a previous painting session. Let the sludge and paper air-dry completely.
Do the same with the used coffee filters: lay them flat to dry.
Once everything is dry, the sludge is safe to dispose of in regular household waste.
6. Repeat and Rotate
I always keep two or three buckets in rotation. That way, I can keep painting while another batch of dirty paint water is settling or filtering. It makes the whole system feel seamless—not like a chore.
⚠️ A Quick Note on Safety
Even though these materials are commonly used in gardening and water treatment, they still need to be handled with care:
Work outdoors or in a well-ventilated area and avoid inhaling any dust (especially when mixing dry powders).
Wear gloves when measuring and stirring.
Keep all chemicals and tools clearly labeled and out of reach of pets or children.
This process is low-risk, but it’s always worth setting things up thoughtfully—especially when dealing with fine powders and water that’s been sitting for a while.
Final Thoughts
This system has genuinely changed how I feel about studio cleanup. It’s practical and it keeps my creative process aligned with my values.
Why This Matters to Me (and Might to You Too)
Recycling my dirty paint water started as an experiment, and it’s become part of how I align my studio habits with my values. It’s a small shift, but a meaningful one—rooted in care, intention, and respect for the impact of what I do.
If you collect my work, this is part of the story too. Not just what ends up on the canvas—but how it gets there.